I was really tempted to call my post "Tasty Tuesday" for some strange reason. What is it about blogging that makes you want to turn everything into an alliteration? I wasn't able to come up with anything catchy though, so I'll just call this section "Gluten Free Recipes" for now. (You'd never know I make a living based on my creativity...)
I've been gluten free for almost two years now and in that time I think I've tried every flour created and every brand of Gluten Free/Celiac Friendly processed food.
Some of it is really good.. and some of it tastes like wet dog.
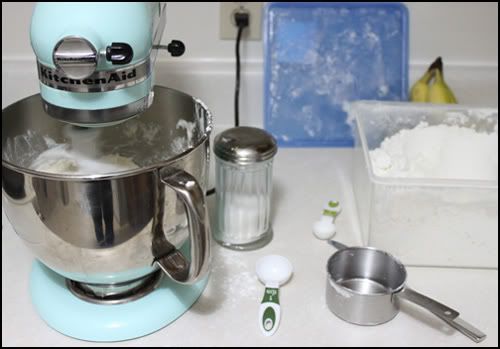
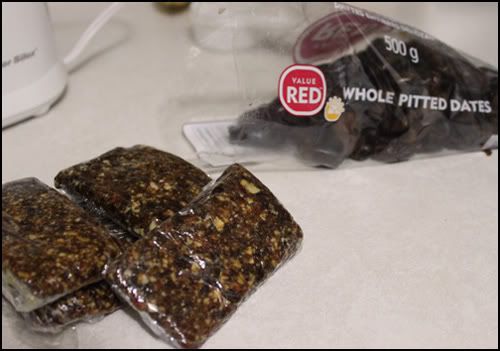
We don't have many GF products in Canada - no Betty Crocker mixes, no Bisquick, no Rice Chex. It's a lonely celiac world up here that involves a lot of baking from scratch. My saving grace has been
Celimix. On it's own it's pretty bland, but used as a flour base it's great. Previously I made my own flour mixture but the Celimix bread mix is so convenient and delivers better results. A 2 kg bag sells for just under $12 at my local Safeway. You can find it in the gluten free section if you're lucky enough to have one, or in the regular flour aisle.

These muffins are so good that even my not-giving-up-gluten-for-anything boyfriend loves them. It's a recipe I've adapted from my trusty Betty Crocker cookbook to be gluten free and vegan. You can use regular cows milk instead and 1 egg in place of the flax mixture if you prefer.
The Best Gluten Free Banana Muffins (They're Vegan Too!)Prep: 10 mins Bake: 25 Mins
12 Regular Muffins
1 C mashed, ripe bananas (2 medium)
1/4 sunflour oil (or your preferred oil)
1/3 C soy milk or almond milk (or 1/3 C cows milk for nonvegan)
1 tbsp flax meal mixed with 3 tbsp warm water for egg substitute (or 1 egg for nonvegan)
2 C flour mixture minus two tablespoons (I measure a full C then dump out about 1 tbsp. GF flour mixes use slightly less than the equivalent white flour measurement.)
1 tsp guar gum (or xanthan gum)
1/2 C packed brown sugar
2 tsp baking powder
1/4 tsp salt
1. Mix flax egg substitute in separate dish. Set aside.
2. Preheat oven to 400F. Grease 12 medium muffin cups. Don't use paper liners for these guys, they are too sticky.
3. In large bowl mix bananas, milk, oil and flax egg with fork until well mixed.
4. Add flour, guar gum, brown sugar, baking powder and salt. Stir until well moistened. Add more milk if neccessary. I usually have to add one or two more tbsp of milk depending on how much banana I've added. Mixture should be thick.
5. Divide batter evenly among muffin cups. Bake for 20 - 25 minutes. Let stand and remove to wire rack.
Best served warm and kept in the freezer. Microwave from frozen about 30 seconds before serving.
Make a cup of tea, get out a book and enjoy a little treat.


 Check out this adorable card on Etsy by Montreal artist Cyerly. This is the same look I had on my face yesterday while cutting my hair.

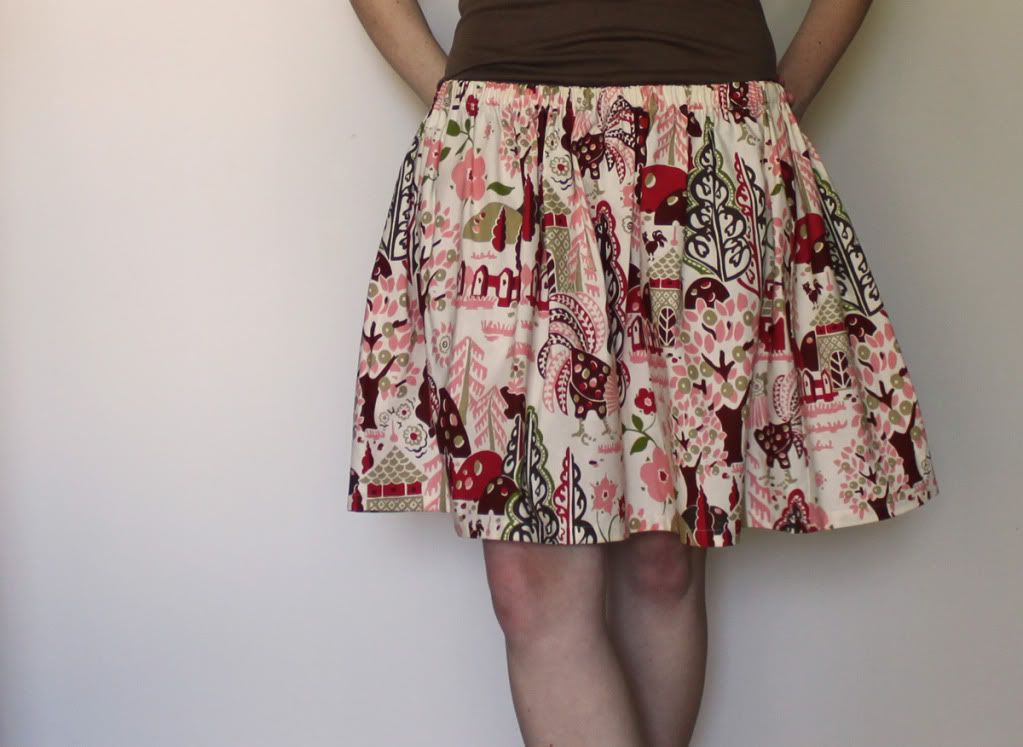 Mavis Knee Length Full Swing Skirt sz 33 M/L
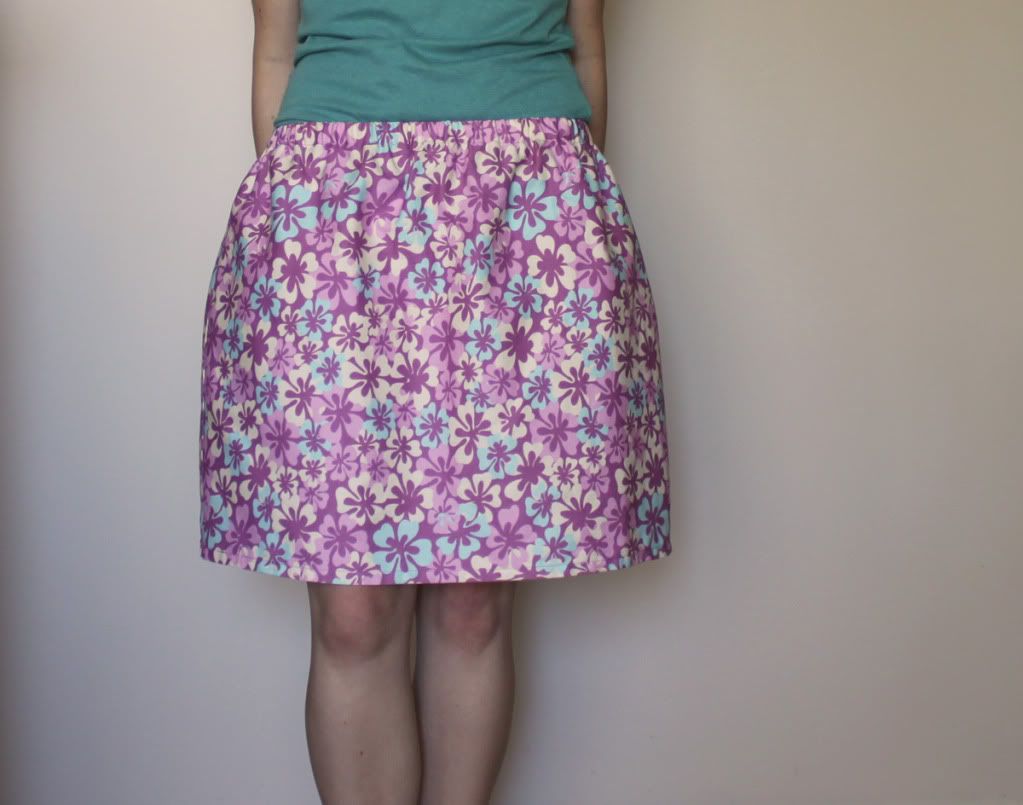 Anna Knee Length Floral Aline Skirt sz 31 M/L
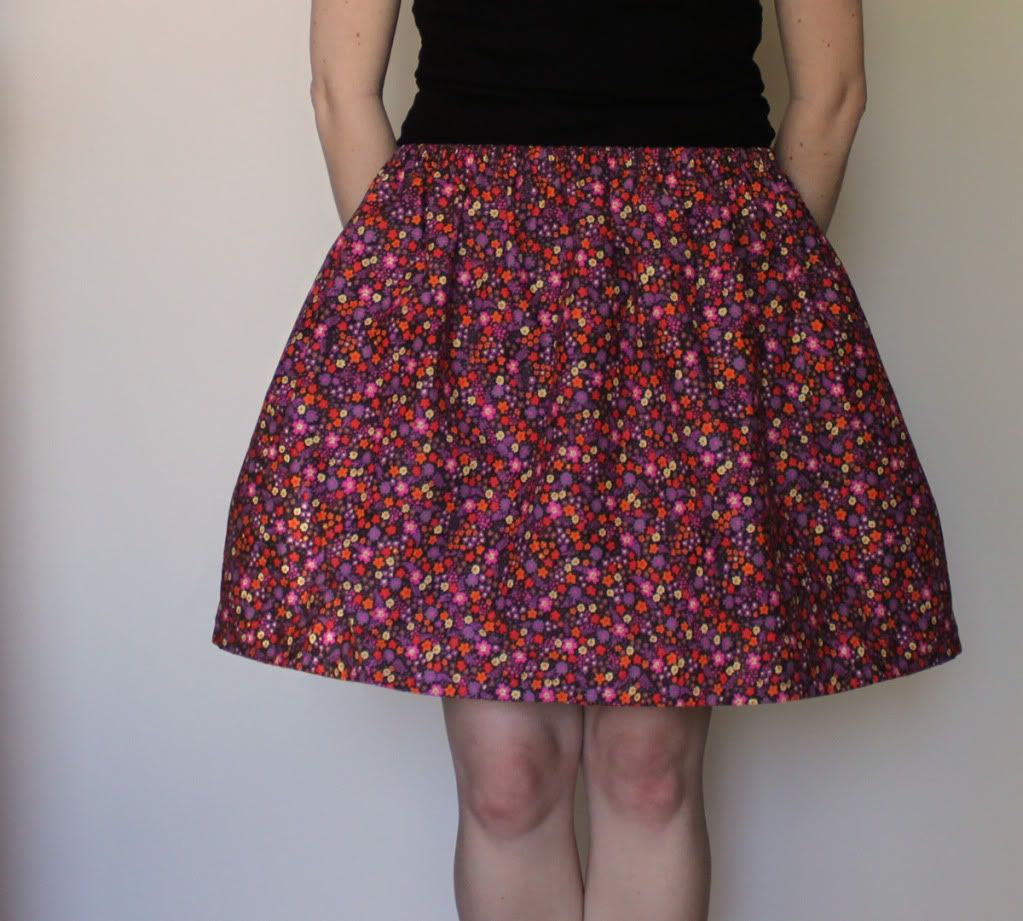 Ethel Knee Length Vintage Fabric Swing Skirt sz 32 M/L